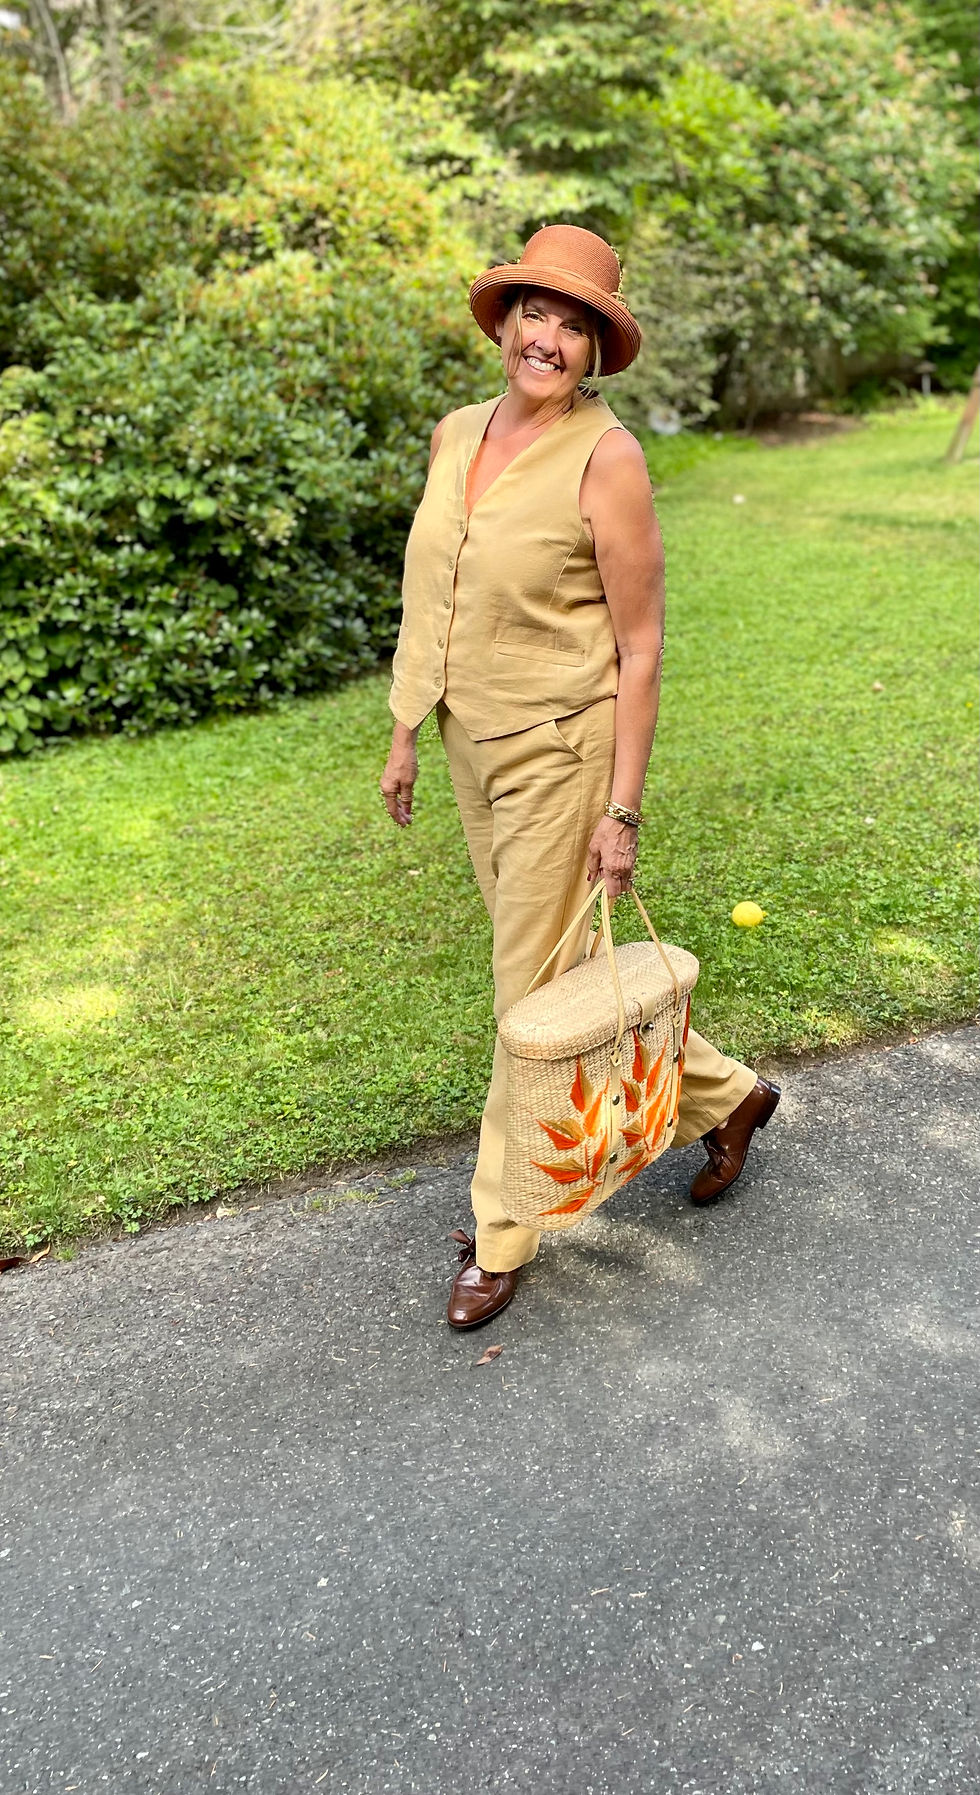
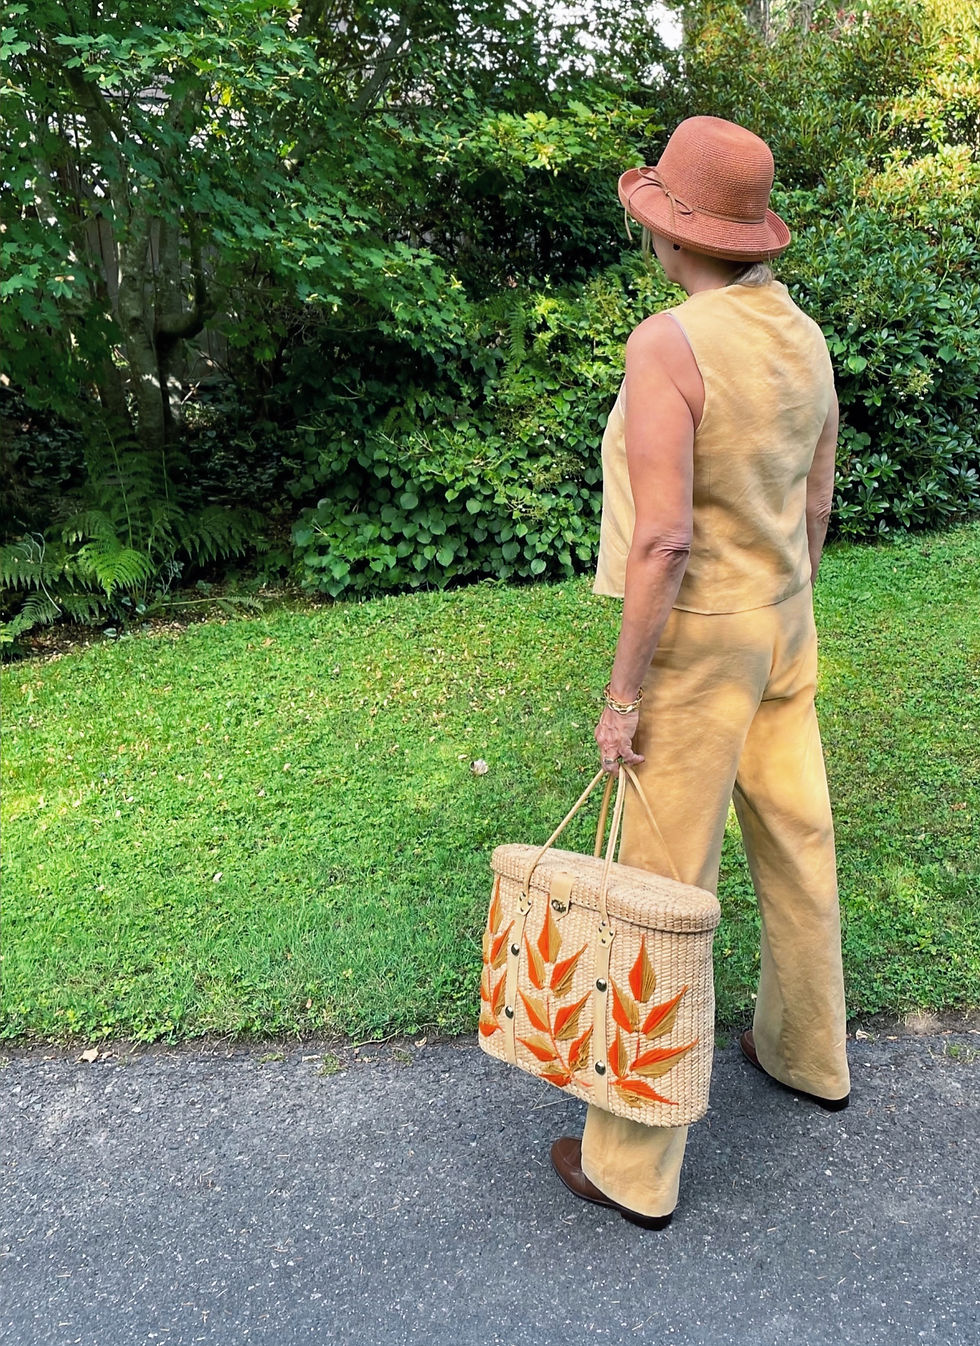
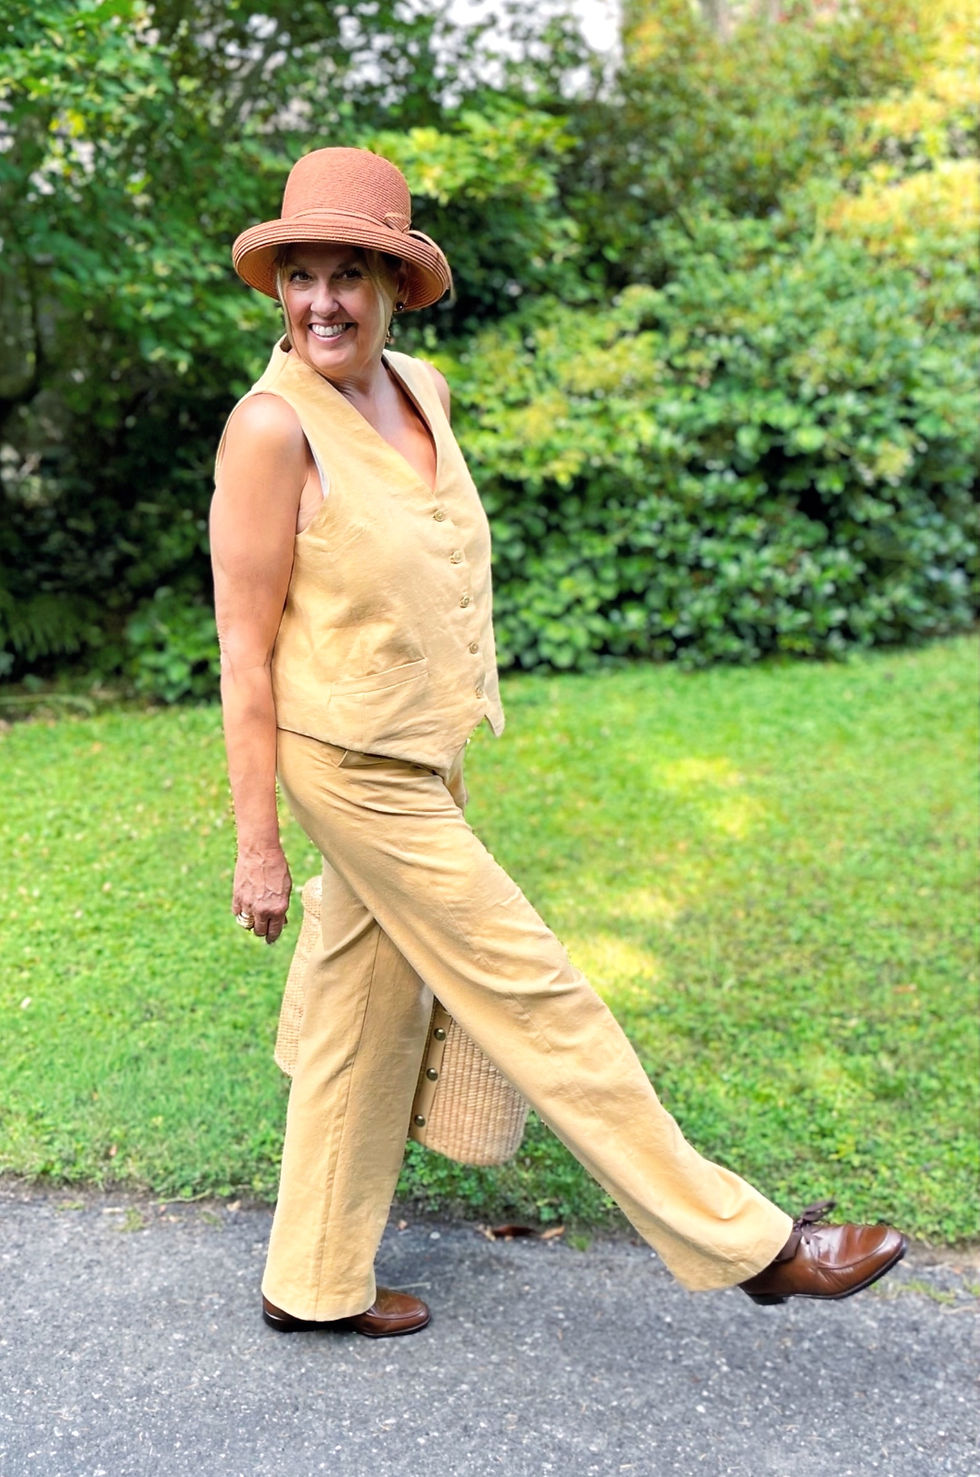
Waistcoats are a trendy, fashionably chic addition to your wardrobe. They are a wardrobe staple and a fashion forward garment that has returned to our wardrobes this season.
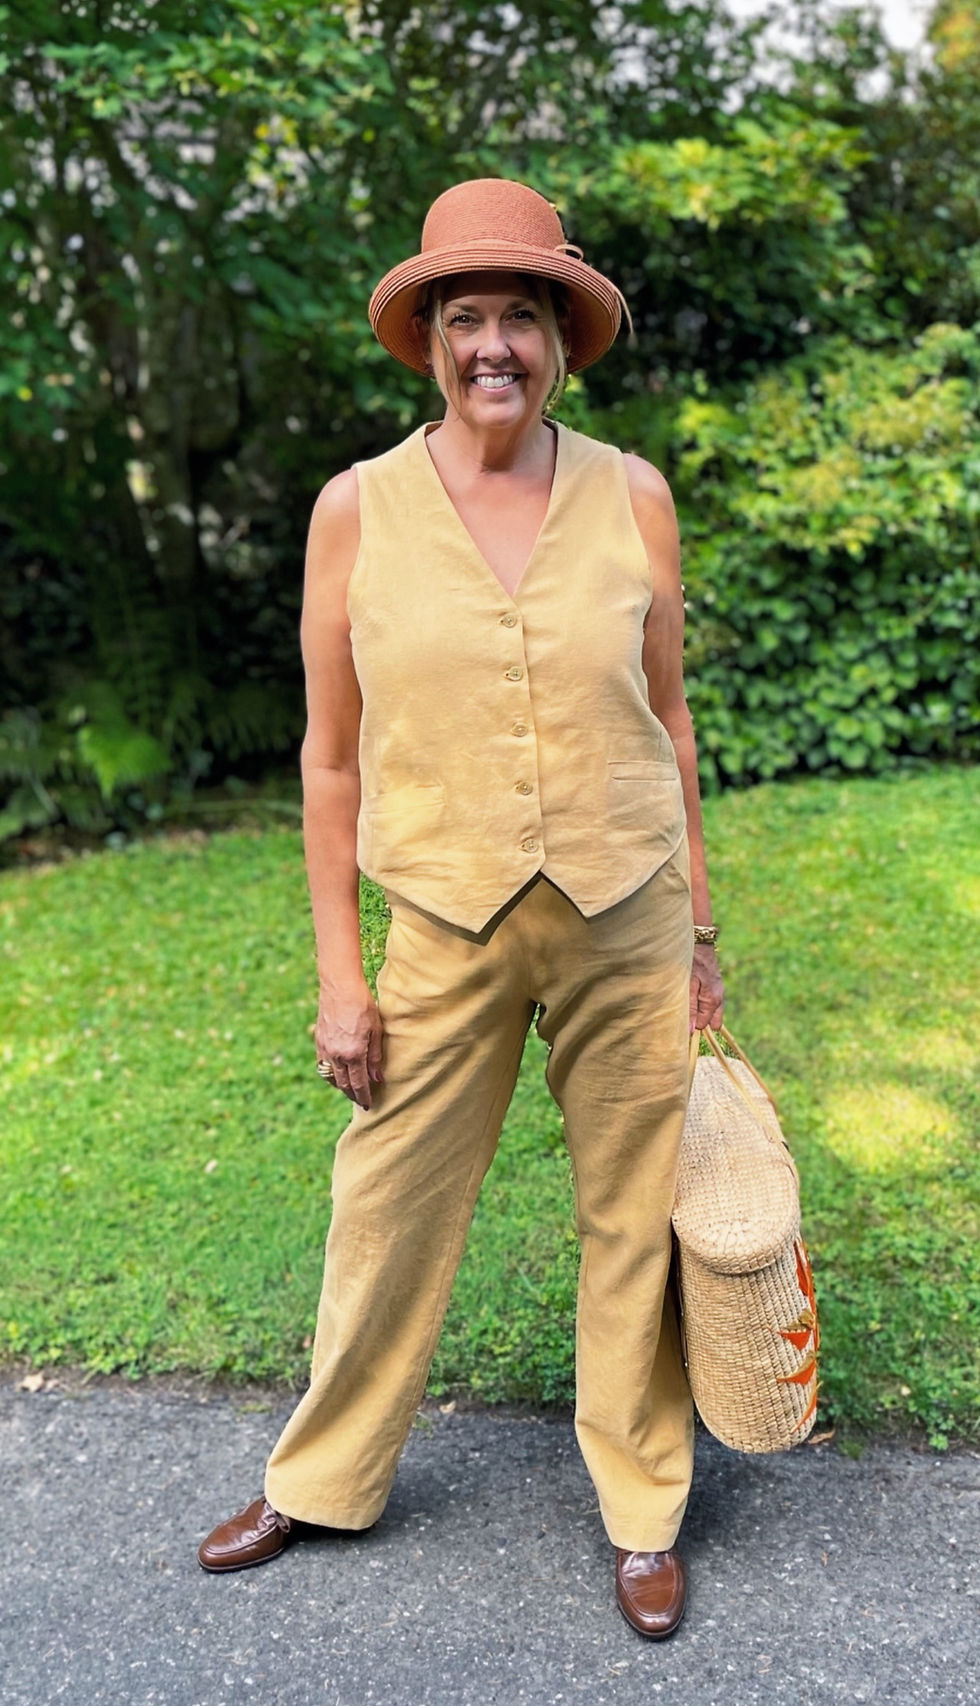
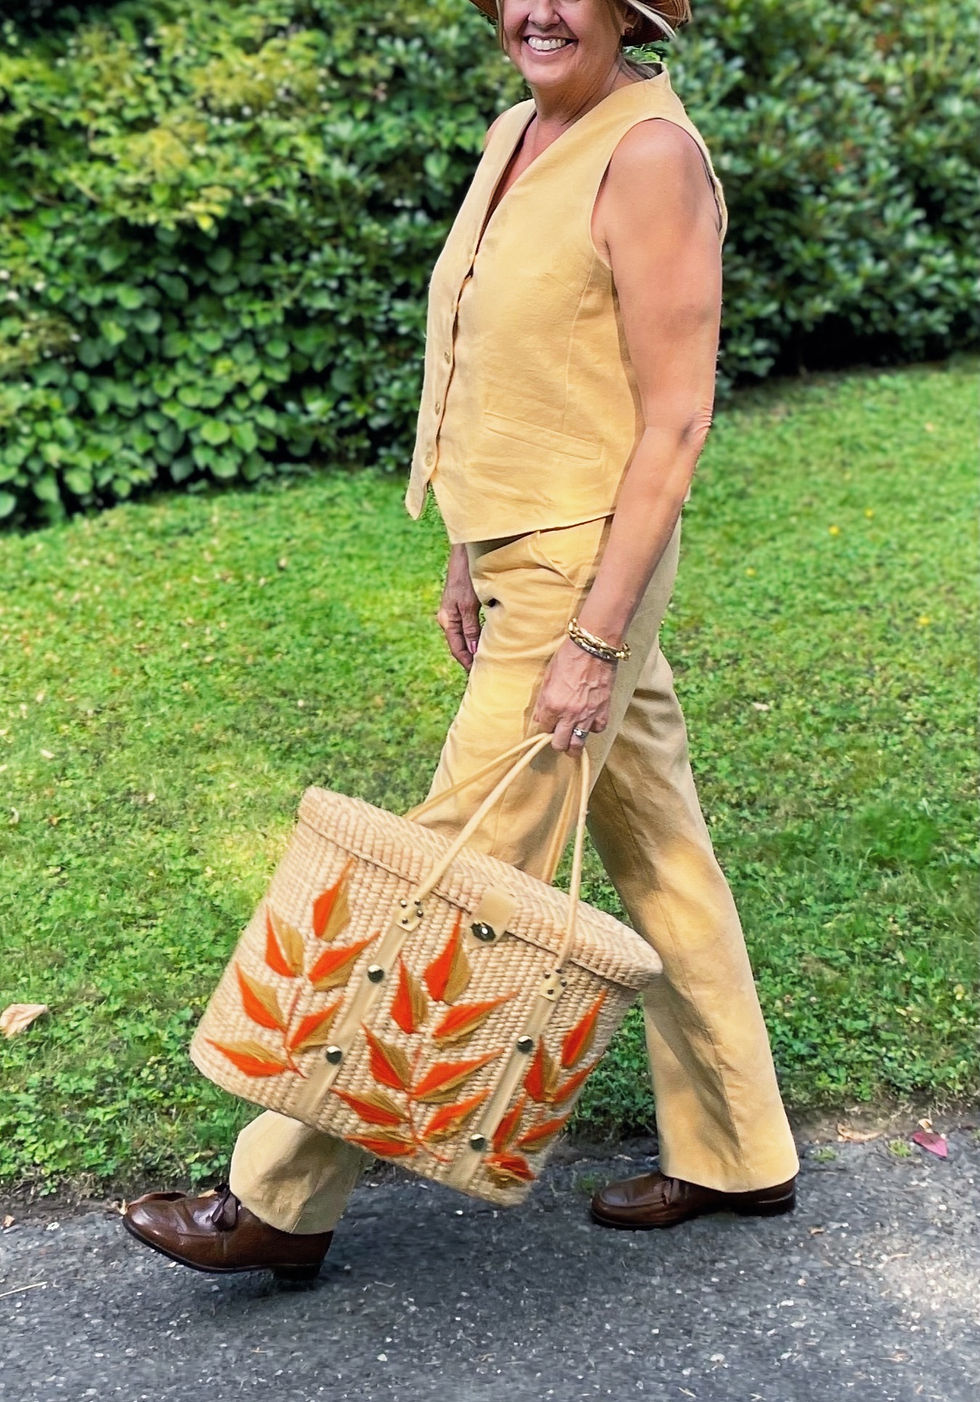
A great waistcoat is not only fun to sew and to wear, it is the perfect trans-seasonal choice. You can pair it like I have here with matching linen pants or toss it on with a pair of jeans for a dressed down boho-chic vibe. Worn on its own, it makes a stylish statement piece for summer, and as cooler weather begins it can be paired with a t-shirt, long sleeve knitted top or a lightweight jumper.
Waistcoats make the perfect wardrobe accessory layer and can be worn with absolutley everything in your closet. From shorts and skirts to jeans, tailored pants, culottes and maxi skirts the fashion combinations are endless.

My waistcoat is the Vivienne, a recent pattern release from Fibre Mood. It can be sewn with or without the welt pocket . It is lined and has a looser fit for easier layering. There are three main bodice pieces; a side panel and front and back panels. The seam lines add a minimalist touch of elegance and simple, classic lines. I knew that this wonderful linen from Polytex Stoffen was the perfect fabric for my summer linen suit.
The vest has classic finishes that include a row of 5 buttons and two welt pockets. The welt pocket construction is definitely more complicated so if you want to sew up a waistcoat quickly you can simply choose to eliminate the welt pockets.
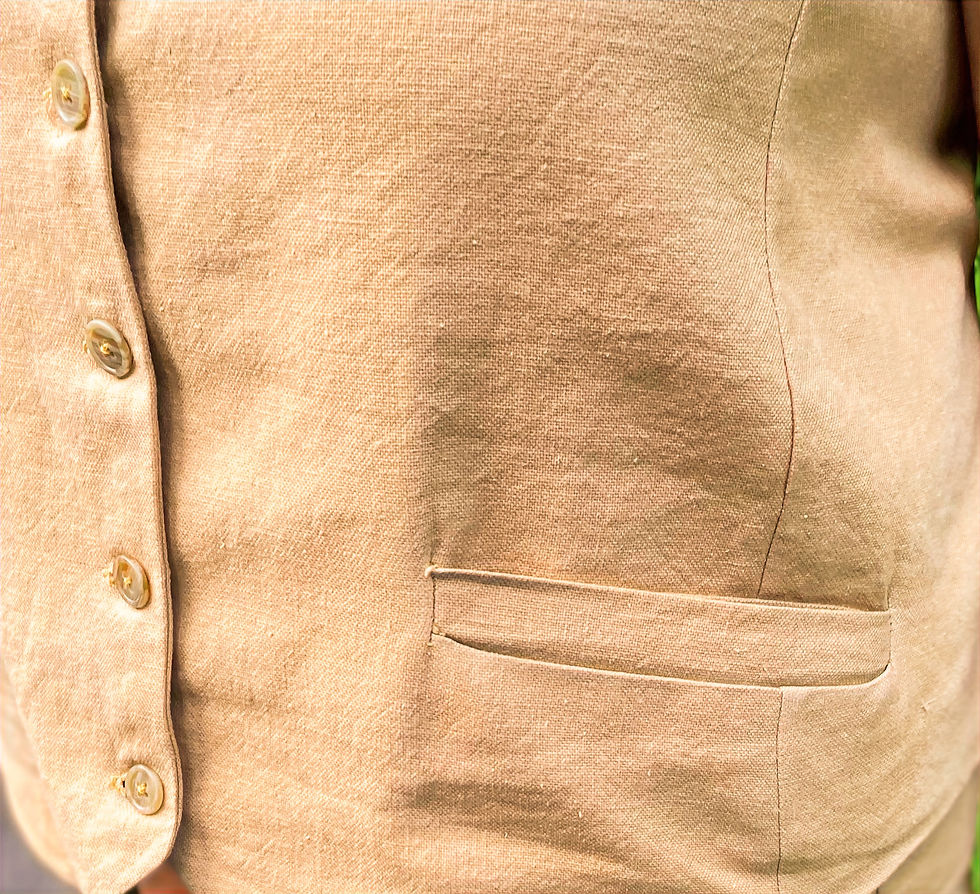
I wanted to challenge myself a bit by including the two welt pockets. The Vivienne pattern carefully discribes the steps you need to take to create the pockets once you have sewn the front panel pieces to the side panels. Make sure to read each step carefully, referring to the diagrams which clearly outline what you need to do. Once you have created the welt pocket bag pieces and attached them to the vest, you will need to cut directly into the fabric in order to pull the pocket bags through to the back of the garment, ultimately creating the welt finish. How long your cut line is and where you create the diagonal cut lines to create the triangles that will finish the ends of the welt pocket have an exactness to them.
I would highly suggest cutting out the pieces for the welt pockets and making a practise pocket before you cut into your precious fabric.
I decided to hand stitch the short ends of the pocket welt as I wasn't happy with the how the finish looked when I used my machine. I find there is a more tailored exactness to the pocket if it is hand sewn and pressed very carefully. I spent a long time pressing the welt so that it laid flat and had a crisp, clean finish. Are my first welt pockets perfect... absolutley not. Am I pleased with them and quite proud of my first attempt at this kind of tailored pocket... absolutley!
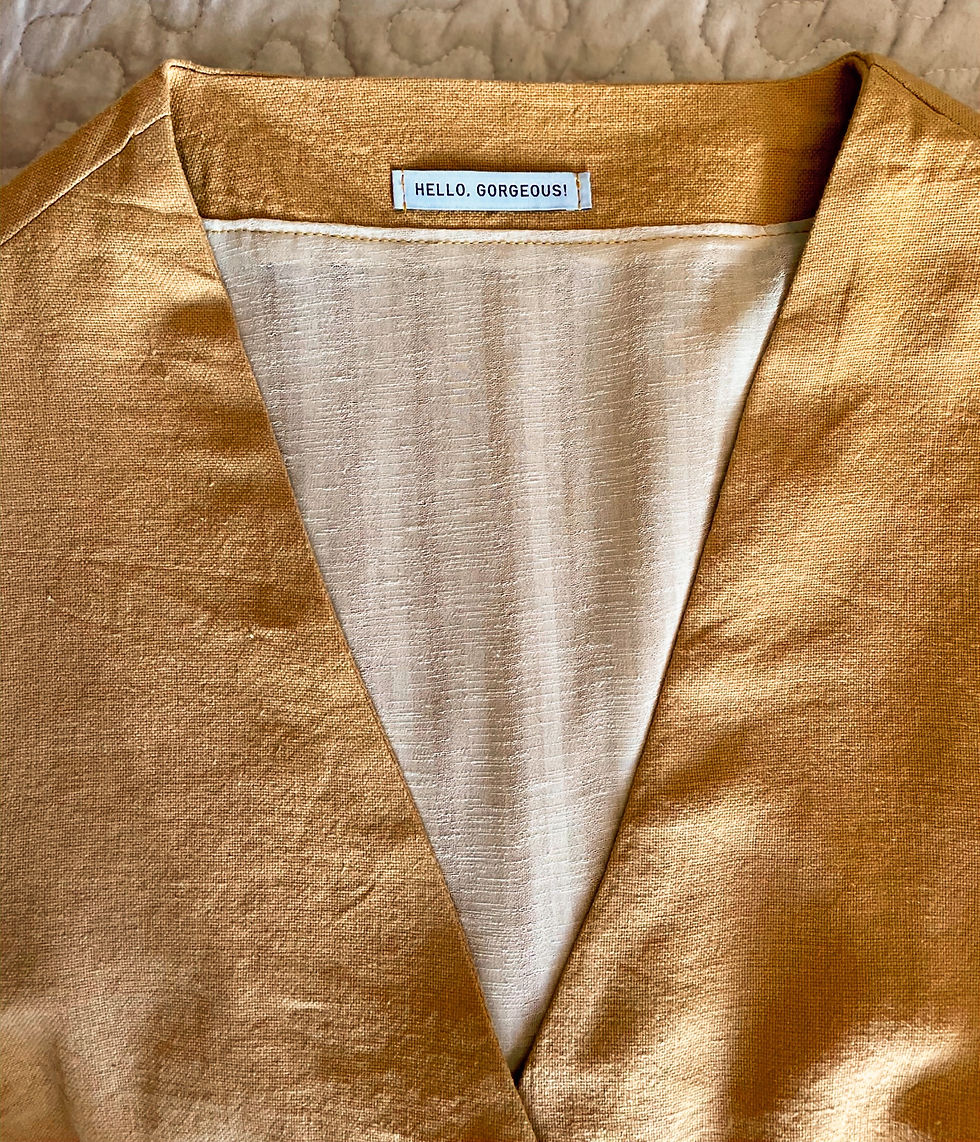
Once you have completed your welt pockets the rest of the vest construction is straightforward. The shoulder seams are sewn together then you move on to the construction of the lining. Darts are placed in the lining, side panels are attached and then the facings are sewn on. This pattern calls for topstitching around the neckline facing which adds a lovely detail. This is a great time to attach any labels to your waistcoat.
With the neckline facing topstitched and your label sewn in you complete the lining by attaching the back panel and the waist facing. Use lots of pins and match your notches carefully to ensure crisp lines and a clean look.
Now you are ready to pin your finished outer vest to your lining. It takes some time to pin it all in place but doing this carefully will ensure you have a detailed tailored finish to your waistcoat edges. Then it is time to sew your lining to the arm holes. This is the second more complicated step in your waistcoat construction. When you are sewing your lining together, the directions tell you to leave part of t your side panel seam unstitched. This is necessary as you will need to manipulate the lining and outer fabric in order to sew the armhole. I actually found it easier to leave both side panel seams open. The pattern discribes how to reach through and pull the lining and main fabric out through the unfinished seam in order to sew them together. You will only be able to sew an inch of the armhole together a little bit at a time if you have done this properly. If you can pin and/or sew the armhole together in larger sections you haven't match the ride sides of the fabric together properly and the vest won't turn right side out correctly. Take you time with this section and read the pattern carefully. You will feel quite rewarded when your arm hole is sewn together!
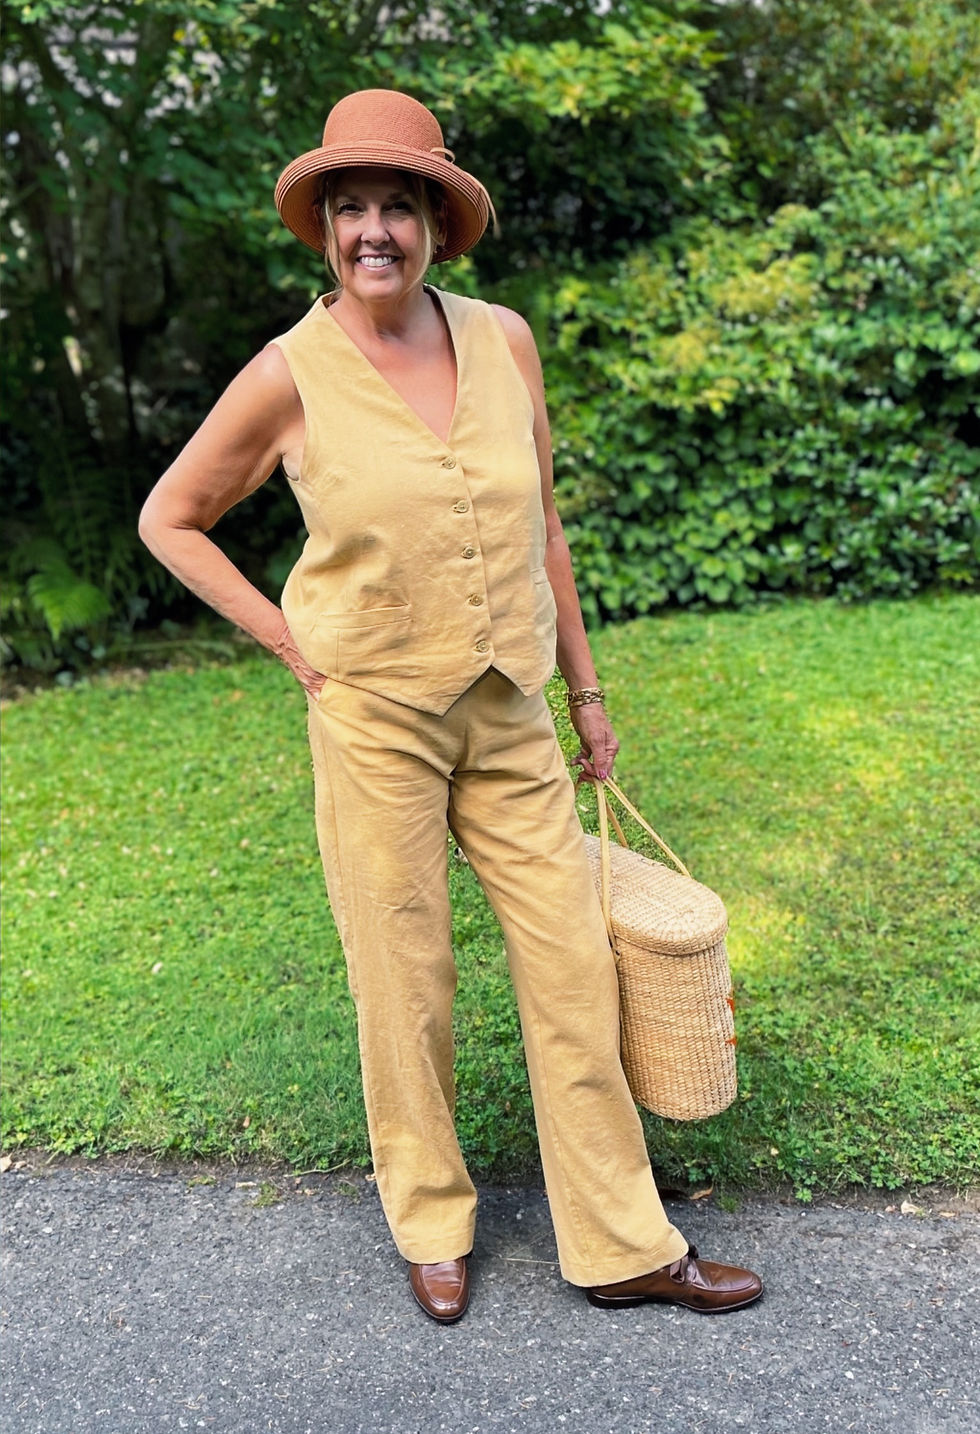
I am so pleased with the final product of my waistcoat. I really do feel like I have reached that "next level" in sewing and understanding the finer points in finishing and fit. I think I would like to sew a denim vest for the fall with a super fun lining, probably without welt pockets this time for a different look.
After all... There is Sew Much To Design.
Have Wonderful Waistcoat Sewing Adventures,
Lou Sheffer
@SewMuchToDesign
Comentaris